|
Now that my class is done using Adobe Programs, I can officially say that Adobe Animate is my favorite. I also really liked Adobe Illustrator, but Adobe Animate allows you to create a character and then bring it to life by giving it motion. I didn't like Adobe Animate at first because of how difficult the program is to get used to, but creating an original motion graphic is hard work and so you can only expect you would need a complex program to do it in. Personally, I like creating my own original characters/2D graphics and I like the finished product when I animate them. By giving it motion, you're really bringing your character to life and giving it a personality. I also have liked Adobe Photoshop and Adobe Illustrator. I didn't like Adobe Premiere that much because the final products were relatively simple and didn't feel as original. I would rather create my own graphics than to edit videos. Adobe After Effects also had a relatively simple product in the end and just seems to be a simplified version of Adobe Animate. I liked Adobe Photoshop because it allows you to do so much with photo editing and you can still create your own graphics. This is an original graphic I created in Adobe Photoshop. Adobe Illustrator is even better when it comes to creating an original graphic. In Photoshop you can use images from online and add effects to them or put them together with other photos. In my example above, I took an image of smoke and put an image of the "No" sign over it. I then recolored the background, added text, and even used the paintbrush tool to have blood dripping from the "No" sign. However, Illustrator allows you to draw/create your own images and is less so working with photos. The mesh tool and pen tool were two of my personal favorites for this task. 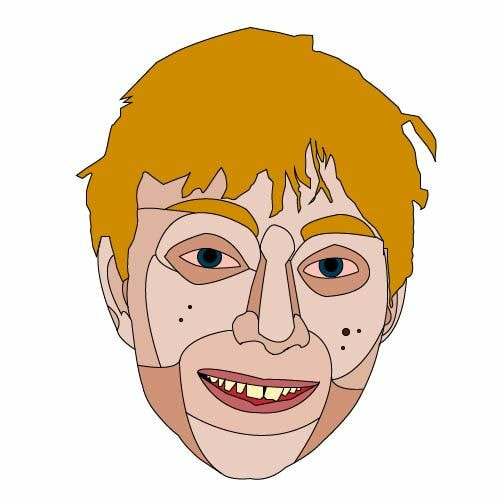 This is an example of an image I created from scratch with the pen tool in Adobe Illustrator. Overall I have really enjoyed this class so far and I have liked working with all of these different Adobe products. They all have different properties and potentials, and can be used for different tasks. It is all a matter of preference. In conclusion:
1 Comment
The Video Editing Project was really fun to film and work on with my group-mates, Zach and Max. We chose vaping as our topic because it is a growing issue and it is a big problem at DSA (Durham School of the Arts). Also many people are being fooled into thinking vaping is better than smoking and that it is healthy, when that is not true. Starting off with pre-production, I was in charge of graphics, so I drew 5 hand-drawn sketches of relevant graphic ideas for our final video, 2 of which were logos, and 3 of which were to be put into the final video.
These are my hand-drawn sketches I created for the pre-production stage. For the production stage I was in charge of creating the team logo, the title screen, the credits, and I also made four other graphics that were incorporated into the video that held the information and facts about vaping. I also helped edit and create the script with Zach, and played the role of Scott, who is the main character in the film. He was peer pressured into vaping by his friend, Travis, after ditching class because he was too nervous about a test he didn't study for.
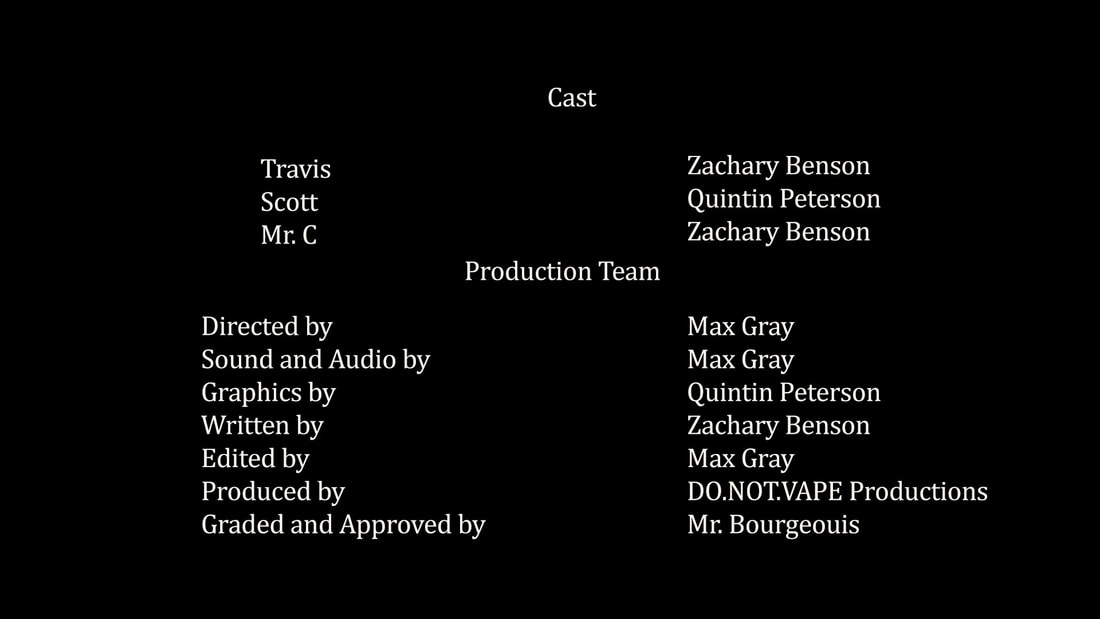 These are the graphics I created for the production stage of the project. Overall I really enjoyed this assignment and think each of us (my group-mates and me) contributed a lot to the final project. I worked hard on the graphics and chose my colors and composition in order to get across a dark tone and convey that vaping is damaging to your health and is not something to play around with. I tried to have my graphics match what was going on in the video and being talked about. Conclusion
Citations for our research: “Vaping: What You Need to Know (for Teens).” Edited by Hillary B. Gordon, KidsHealth, The Nemours Foundation, Feb. 2019, kidshealth.org/en/teens/e-cigarettes.html. Posted byJeffrey BuckleyI was a smoker for over 25 years. In this time I also earned my medical degree with a specialization in addiction treatment and counseling. That period has led me to vaping. “Side Effects of Vaping: New Studies and Researches Explained.” Vaping Daily, vapingdaily.com/what-is-vaping/vaping-side-effects/. Wootton-Greener, Julie. “Teenage Vaping: E-Cigarettes Are No. 1 Cause of School Suspensions.” Twin Falls Times-News, 20 Oct. 2018, magicvalley.com/news/local/education/teenage-vaping-e-cigarettes-are-no-cause-of-school-suspensions/article_12a5a201-af07-5262-bd64-e0d29b37715d.html.
This is a relatively simple montage.
Now that I have gotten to use Adobe Premiere more, looking back I think I underestimated its potential and uses. I originally thought it was just for creating simple montages, but I did not take into account how amazingly easy and efficient it makes it to piece together video clips. I also didn't consider how many tools it has for the transitions, as well as for cutting and lengthening the pieces. Looking more in-depth it is amazing how you can just import a video clip, simply select the part of the video you want, and then just drag it on to the timeline, and so on until you have an entire video/movie. You can drag in audio, and cut it down with the razor tool, as well as choose from multiple different transitions and effects in order to make the videos come together more smoothly or more interestingly. Premiere also gives you the ability to stack the clips on the timeline, so you can cut from one scene to another scene that you dragged over that, and then back to your original scene. Overall it is very easy to get used to using Premiere and it is very efficient when it comes to making a film. It may appear to be a simple program, but it is actually relatively complex and is just making it seem like video editing is an easier task than it is. I hope to do more with Premiere and I have really enjoyed working with this program.
I pieced together parts of a knock-knock joke.
I practiced stacking clips to make a more fluid video.
Conclusion:
My class has been working mainly with animation lately. We have primarily used Adobe Animate, After Effects, and Premiere Pro. They're all used for different tasks, and as discussed in my last post, they have different problems and capabilities.
Afobe After Effects was easy to get the hang of. You put in an image or text and then using the timeline, put in keyframes, make your adjustments, and the program will fill in between them. For example one of the techniques was called explosive and involved having a word appear and disappear by changing the opacity. You change the opacity on a few keyframes, starting with 0 on one, going to 100 on the next, and back to 0 for the last. There are many techniques but they're relatively simple and don't allow complex movements.
I created this in Adobe After Effects.
Adobe Animate was hard to get accustomed to but had fewer limitations. You draw up a character as you would in Adobe Illustrate and then redraw/create that illustration in the way you want it to move in the next keyframe, and then you can add a tween between the original frame and the one where you made your adjustments and it fills in between those keyframes. This program requires a lot more work and often times you have to add shape hints or change the easing so it performs in the way you would like, however, it has more capability, especially when creating your own character.
Premiere Pro is very simplistic and is primarily for working with photos. It is easy to get the hang of and is similar to After Effects when working with the timeline. All you have to do is drag your images on the timeline in the order you want them and adjust the length.
Created in Adobe Premiere Pro.
Summary:
|
AuthorMy name is Quinn Peterson! I will be reflecting about my art work in this blog! Archives
May 2022
Categories
All
|


 RSS Feed
